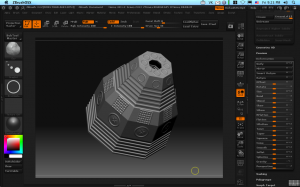
Zbrush has a handy tool that isn’t always well understood, the Sweep3D primitive, which is akin to the lathe tool you might find in other 3D apps. Â What is handy, is that you can pick the number of sides you want, as well as quickly set up for a simple or complex profile. Â Here is a simple 8-sided sweep.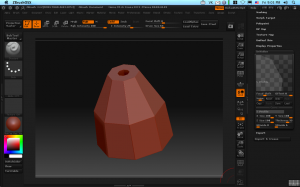 With pretty straight forward parameters in it’s initialize menu:
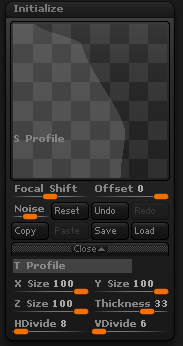 There are two profiles to set for a Sweep3D object. Â The first and most important to the shape is the S Profile, which controls the outer shape of the object. Â To add control points, just tap on the graph. Â To remove control points, just drag the point off the graph. Â Â
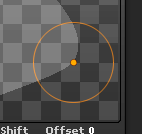
The trouble for some users is that the line interpreted between the points is a spline and often doesn’t give a more angular shape. Â It isn’t obvious, but when you select a point on a graph, a circle appears around the point like a halo. Â That circle isn’t just to highlight the point–it also controls how smooth the line is that passes through the point! Â Draw the circle close to the point by dragging its rim, the point gets sharper–further away, the line through the point gets softer. Â Neat!
The second profile, T Profile, Â controls the thickness of the object that is swept. Â By default it give a nice even thickness top and bottom, so I leave this alone.
 After converting my simple octagonal object to a poly mesh, and subdivided it 8 times with SMT (smooth) off, I can then start decorating it to make it a little more mechanical looking. Â Picking a simple alpha from my collection (this one from Codeman Studios) I can just drag a marquee of the alpha by starting my click off the object and dragging across. Â Do it twice, and I have a nice set up to inflate some ridges from the surface.
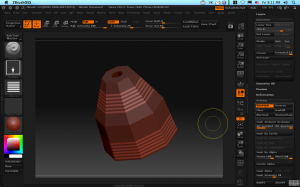
A couple of inflates (deformation menu) and  then Iuse radial symmetry of 8 and couple of different alphas to decorate the object further getting something like this.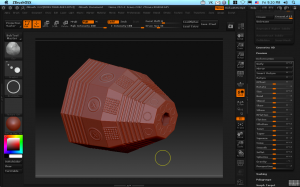 Add texture and I have another mechanical part for a machine.